Workflow Three steps!

Once you have an active budget on the App, our workflow provides three easy steps to help ensure your budget is effective. If you need help creating a budget, our Getting Started page will guide you. Otherwise, follow these steps to get the best from your budget.

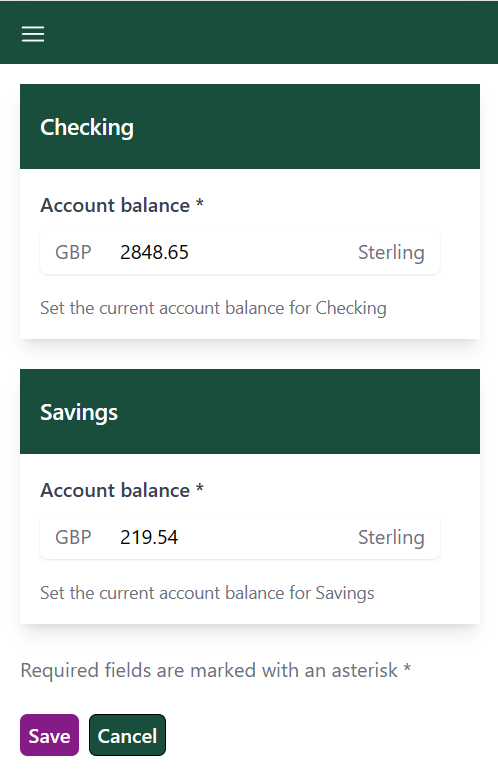
Step 1 - Set your balances

As soon as you log in, set your balances for all of the accounts that you are tracking in your budget. This allows the app to generate accurate and up-to-date projections for your finances.

To update one or more balances, use the “Set Balances” button which is right at the top of the Budget Overview.

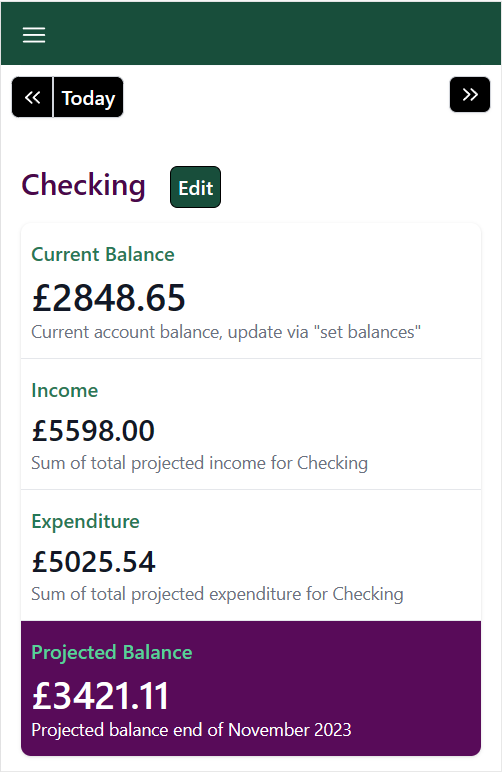
Alternatively, you can update the balance for an account by using the “Edit” button next to the account in the Projections section – this is at the bottom of the Budget Overview.

Set the current balance for each account

Step 2 - Mark Budget Items as “Paid”

For the current month, the App needs to know which of your transactions have been paid. This ensures that the maths stacks up and your projections for the period are correct.

You can mark a budget item as “Paid” by going into it from the Budget Overview. Alternatively, you can click on the Multi-Select Icon at the top of the Budget Overview and this enables you to mark multiple budget items as paid.

Remember, you can only mark items as paid in the current month.

Mark multiple budget items as paid

Step 3 - Review your Projections

Once your balances have been updated and you have marked your paid items in the current month, the App will be able to generate your projections. There will be projections for each account attached to your budget and you can fast forward into the future to view projections!

Our projections are generated live so you can make a change and see immediately how it impacts your projections. You can also set savings targets and see the date that you’re expected to achieve your goal!

Budget Pro projections for expense account